Virtual Machine for the First Two Assignments
Intro
This is a short guide on how to create a Virtual Machine using VirtualBox, capable of compiling and running User Mode Linux.
Virtual Box
First you must have Virtual Box installed on your computer. The guide here might be of help: https://www.virtualbox.org/manual/ch02.html
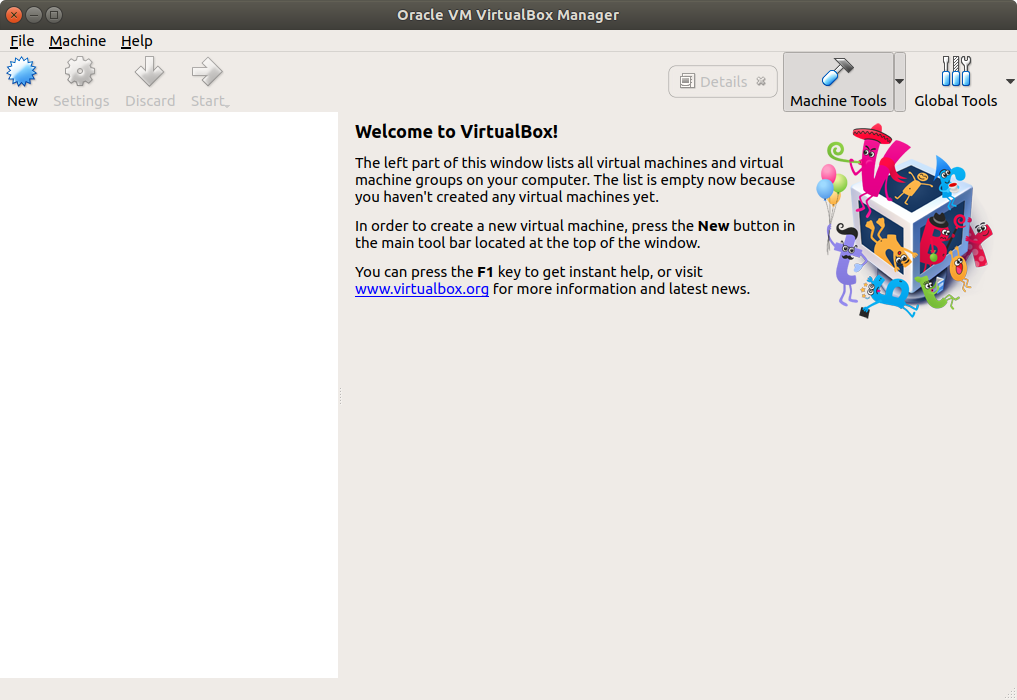
Once you start up Virtual Box, you should see a screen similar to this
Creating a Virtual Linux Machine
First you must download an Ubuntu 18.04.1 LTS ISO from https://www.ubuntu.com/download/desktop. If you have access to Bittorrent, it might be faster, see https://www.ubuntu.com/download/alternative-downloads
Once you have this downloaded, click the "New" button, and you will see this

Choose a name - fx DM510, select Linux as type and Ubuntu (64-bit) as version. I prefer 2048 MB for memory, and creating a virtual hard disk.
To create the disk, I recommend these settings: A name you can remember, 10GB, VDI and Dynamically allocated.

Once you have clicked create, you will see the new VM in the list

Now you must install the Ubuntu Operating System on your new VM.
When the VM is selected, click on settings, and go to the storage section. Add as a CD drive the downloaded iso file with Ubuntu using the small button of a cd, so your VM will have it available for boot. Your created disk should also be shown.

To be able to get files into and out of your VM, you should create a shared folder between the host machine and the VM. Go to the "Shared Folders" section.

Click the small folder with the green plus sign, and find the folder you will share. My folder is called DM510-UML-FS, and this is the name you must use when mounting it inside the VM later.

After you have added it, it should show up in the list

Click Ok, and back at the main screen. Now you are ready to go:

Installing the OS
Click the Green start arrow, to boot the VM. After a bit of time, you should be able to install Ubuntu.
Select "Install Ubuntu"

Choose your layout of the keyboard

You can go with "Minimal Installation" and "Download updates while installing Ubuntu"

Select "Erase disk and install Ubuntu"

It should be ok.

Select Copenhagen as your timezone

Finally - choose username and password. I’ve used dm510 and a short password, so it is easy to type in.
After OS Installation
When the installation is done, go to Devices→Optical Drives and select Remove Disk from Optical Drive and restart. Now your Ubuntu Machine should boot up, and show you the login screen.
It can be a bit of a help, if you enable clipboard sharing, when you should enter commands from the manual in the terminal in the VM. You can go to Devices→Shared Clipboard and select Bidirectional. Restart the VM and this is enabled.
I also recommend installing the Guest Additions. You can do this from Devices→Insert Guest Additions CD Image and let it run.
Once you login, the Software Updater will possibly tell you updates are available. Let it do its job and install the updates. Here a reboot of the VM might be necessary for the changes to clipboard etc. to have an effect.
Once this is done, it is time to update and install a few tools needed. Run the commends below in a terminal.
# Update the packages on the machine
sudo apt-get update
sudo apt-get upgrade

# Install some tools needed to compile fx UML
sudo apt-get install make flex bison gcc xterm uml-utilities

# A fix for uml-utilities and uml. Needed to get the exterm windows connected correct
sudo mkdir -p /usr/lib/uml/
sudo ln -s /usr/lib64/uml/port-helper /usr/lib/uml/port-helper
To mount the shared folder we prepared, so you can get files easier in and out of the VM, you should open a terminal
mkdir sharedfiles
# My shared folder from above was called DM510-UML-FS if you called it something else, you shold adapt.
sudo mount -t vboxsf -o rw,uid=1000,gid=1000  DM510-UML-FS /home/dm510/sharedfiles
The files you put in the sharedfiles folder can be seen both in the host machine and in the VM.
|
Tip
|
Now you are ready to use your VM, fx. for User Mode Linux |
Fuse Installation
For the 4th assignment, Fuse is needed in version 2.9.7 (the same version as is installed at IMADA.
This can be done with the following commands
# Create a dir for it and switch to it
mkdir fuse
cd fuse/

# Download the code
wget https://github.com/libfuse/libfuse/releases/download/fuse-2.9.7/fuse-2.9.7.tar.gz
md5sum fuse-2.9.7.tar.gz # Validate the result is 9bd4ce8184745fd3d000ca2692adacdb

# Unpack the code
tar -xzvf fuse-2.9.7.tar.gz

# Go to fuse src lib
cd fuse-2.9.7

# Configure build
./configure --prefix=/usr --disable-static --exec-prefix=/

# Build
make

# Build installable files
make DESTDIR=$PWD/Dest install

# Move a lot of files
sudo install -vm755 Dest/lib/libfuse.so.2.9.7 /lib
sudo install -vm755 Dest/lib/libulockmgr.so.1.0.1 /lib
sudo ln -sfv ../../lib/libfuse.so.2.9.7 /usr/lib/libfuse.so
sudo ln -sfv ../../lib/libulockmgr.so.1.0.1 /usr/lib/libulockmgr.so
sudo install -vm644  Dest/lib/pkgconfig/fuse.pc /usr/lib/pkgconfig
sudo install -vm4755 Dest/bin/fusermount       /bin
sudo install -vm755  Dest/bin/ulockmgr_server  /bin
sudo install -vm755  Dest/sbin/mount.fuse      /sbin
sudo install -vdm755 /usr/include/fuse
sudo install -vm644  Dest/usr/include/*.h      /usr/include
sudo install -vm644  Dest/usr/include/fuse/*.h /usr/include/fuse/
sudo install -vm644  Dest/usr/share/man/man1/* /usr/share/man/man1
sudo /sbin/ldconfig -v